Today I went and did something I’m going to call the “50mm Lens Challenge”.
What is it you ask?
Evidently, it is where you use a 50mm lens for a photoshoot.
But… why?
Well, most Canon lens-owners know about the EF 50mm prime lens with f/1.8. Probably the most recommended starting lens purchase over the last 10+ years. I was one of those people who were recommended it, seeing as it was a (relatively) cheap lens that offered something new (f/1.8 + prime) and was good.
I bought it maybe… 7 years ago. It was a year after my family first got the Canon Rebel XS during a post-Christmas Boxing Day sale. Once again, it was a Boxing Day sale. Back then, the Loonie wasn’t worth nothing, and Boxing Day Sales had actual real sales. Neither of them are true anymore though, but I digress. I remember seeing the lens for about $80 at BestBuy and FutureShop (when it was still around). I remembered many, many websites & photographers recommending this small portrait shooter as a first-step lens. After some discussion with my dad (which went similar to this: “Wow this is much cheaper than any other thing you could want for a camera, sure”), we went out to buy it.
I think we ended up going to FutureShop to buy it, since BestBuy had some crazy lines and what-not. This probably is why I was so sad to see FutureShop close and officially merge with BestBuy – their Boxing Day experience was so much better. There were still many in stock (rare for ‘door-crashers’) so we picked one up and left as quickly as we could. That still took over 30 minutes.
I remember being a bit excited about owning a “portrait shooter”, until I discovered that a prime lens didn’t mean it was a top-of-the-line lens.
No.
Zoom.
Those two words struck so much fear in my young heart.
Zoom was a godsend for someone who didn’t want to have to constantly adjust themselves to get a good perspective captured. This “prime lens” was such a rip-off! I didn’t buy a new lens wanting exercise! I almost had it in mind to refund it. But I had heard so many great things about it, I just had to keep using it.
So I didn’t.
Wait what?
Hey Kevin, doesn’t the phrase usually go “So I did”?
Yes, yes it does. But you see, if I had typed “so I did”, I would have been lying.
I used the damn thing maybe a total of 10 times between then and now.
And considering that Canon’s upgraded version released about this time two years ago (I only recently found out about it, which is no surprise considering how little I used it), I decided that plastic cylinder thing needed to see some use this year.
I also needed some practice with it, considering I never shoot with prime lens (I run a 18-200mm kit lets all the time), I’ve avoided portraits for a good amount of my last 7 years, and I don’t have any other lens that has such a low f-stop.
And that’s why I have this “50mm Lens Challenge”. Long context for something so insignificant, eh?
I also primarily only shoot landscape/scenery, which doesn’t exactly take use of a low f-stop.
So off I went. First a trip to BestBuy to find a lens hood (no success), and then a trip to Google Maps to find a nearby park I have not visited before.
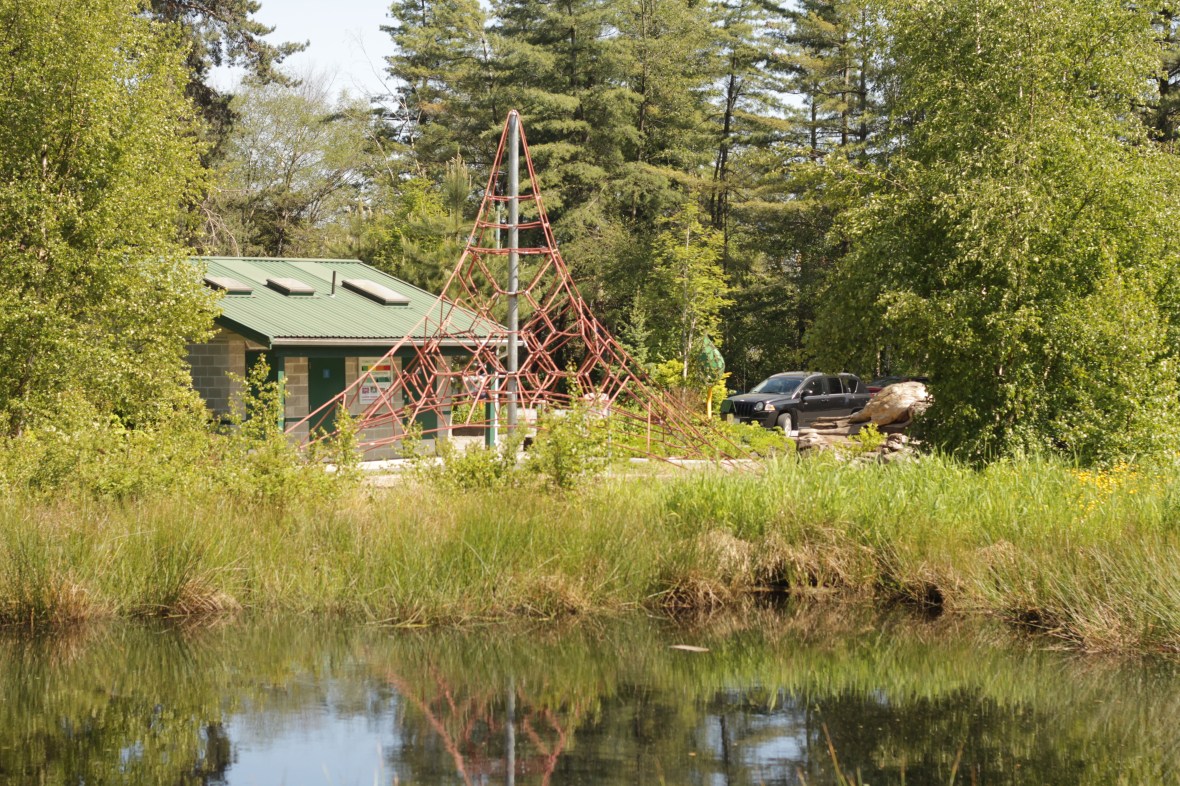
Which is how I found the Richmond Nature Park, probably a good 15 minute walk away from my house.
My first impressions of the place was that I might have gone to the wrong place. It was a dingy little place, with little cars parked. At first glance, the info building looked a lot like a senior care centre. I’m still not sure if there is one beside it, especially when I consider the number of seniors I saw in my hour there.
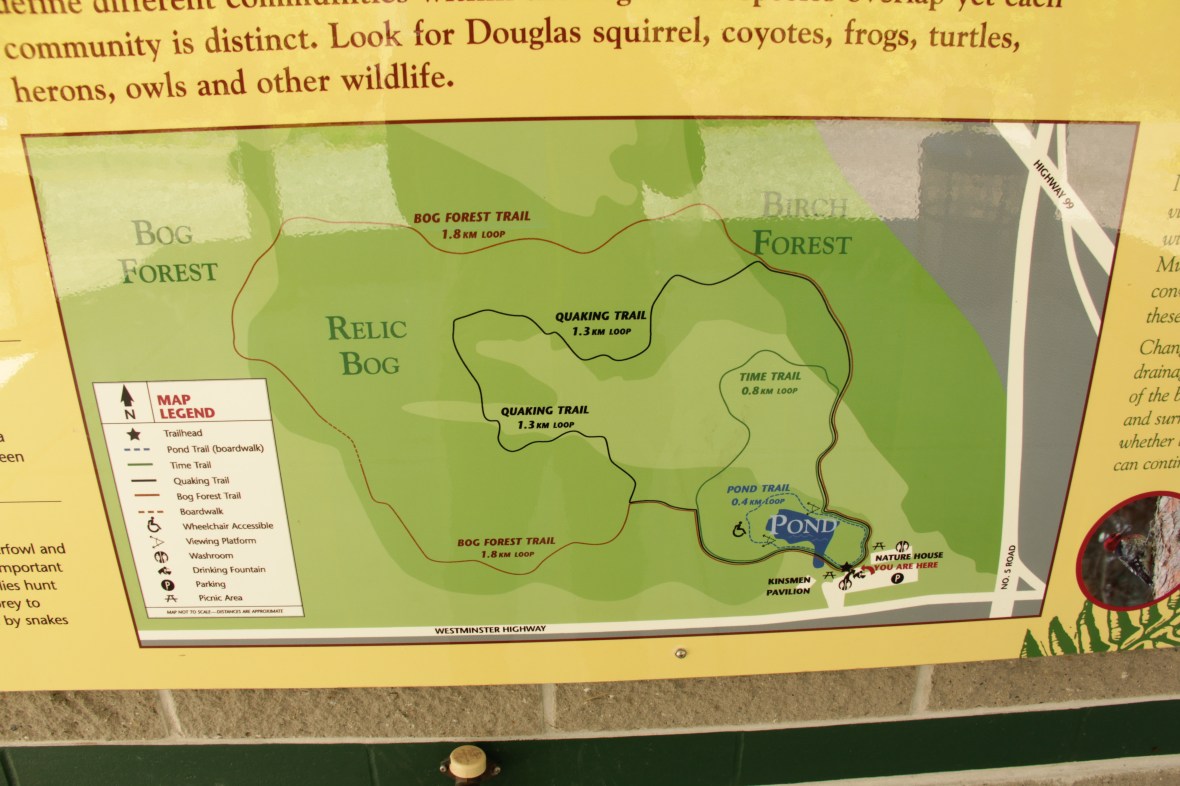
Convenient map
The goal when you’re in unfamiliar territory, is to get your bearings straight. Google Maps is a good way to find out where I am, but a local map is the best for accurate information.
I wasn’t interested in any of the bogs, so I decided to just do the Pond Trail and Time Trail and leave.
Pond Trail
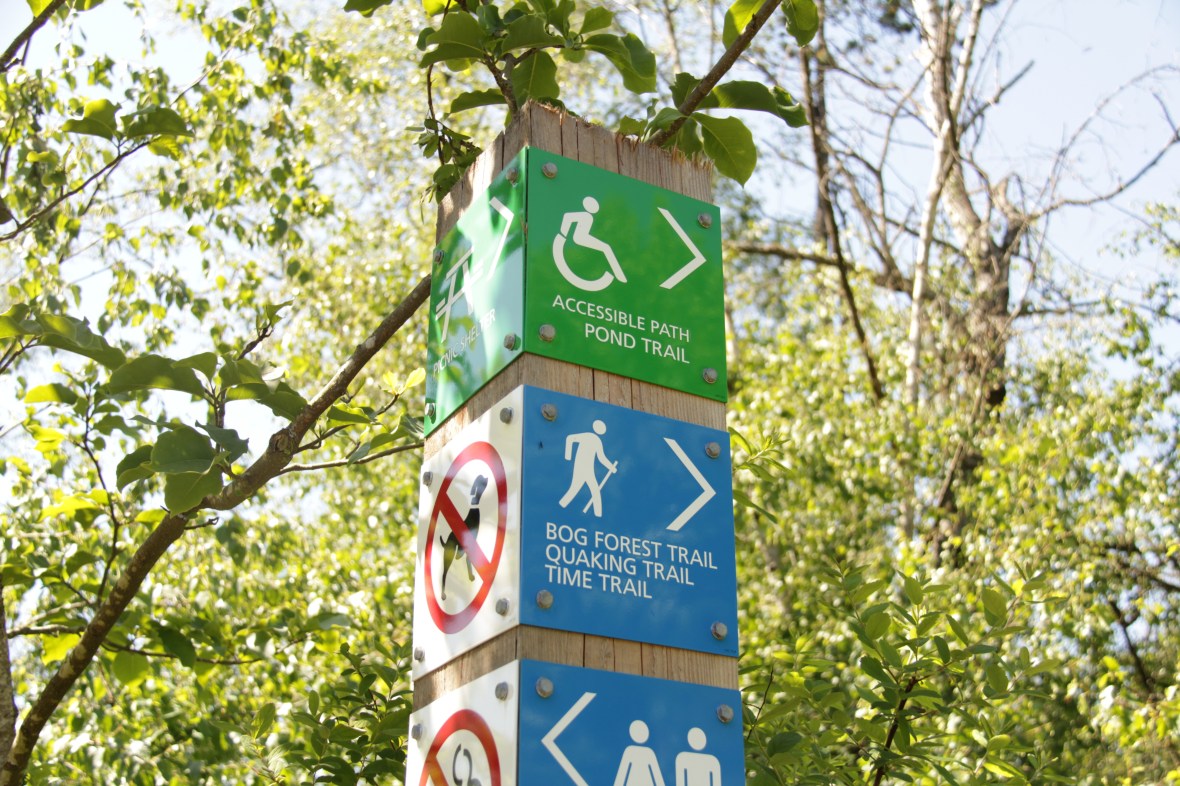
Starter trail
Honestly, this trail shouldn’t even be considered a trail.
It was very short (like the map showed), and while it was called the Pond Trail, I couldn’t really see the pond. What I could see, was a bunch of grass and green-life growing out of what was almost marsh-land like. Certainly not the blue, clear pond I had envisioned.
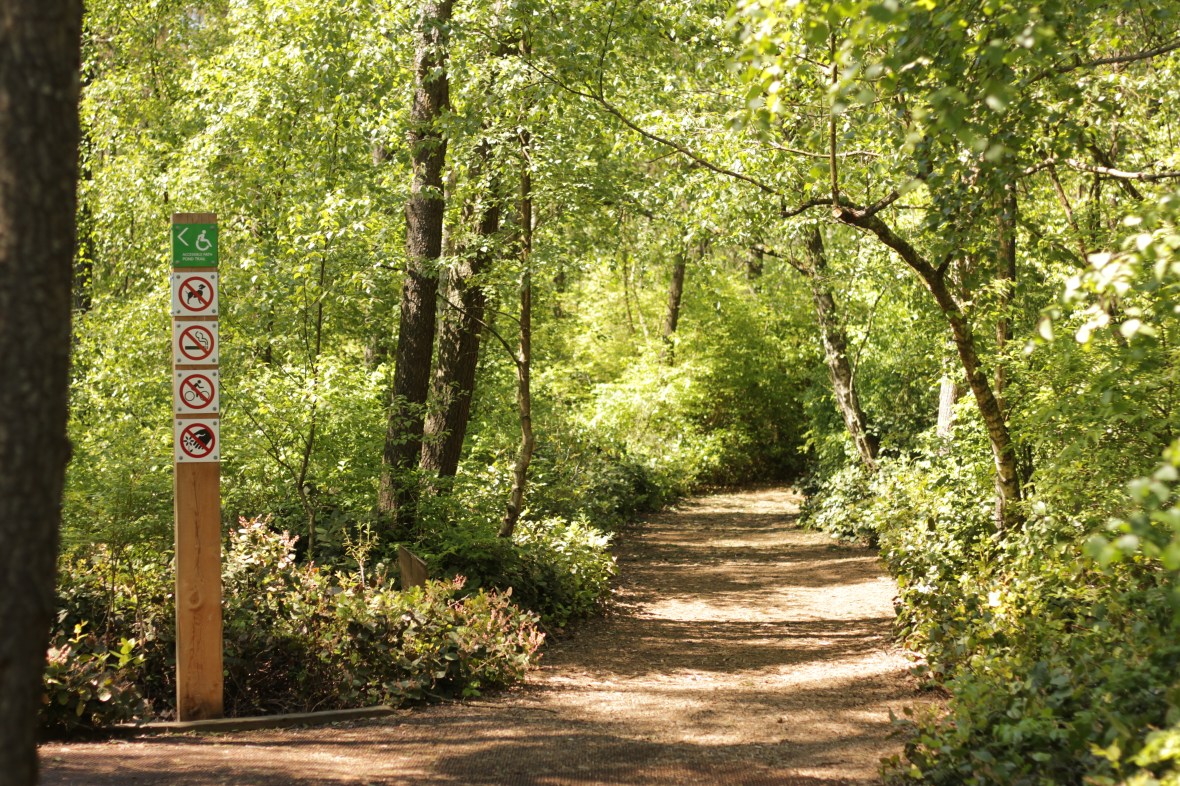
But that is besides the point. The goal was to use the 50mm prime lens, so how was that?
Difficult.
I’ve always relied on having manual zoom on the lens. Now that the only zoom I had was my feet, it was a struggle.

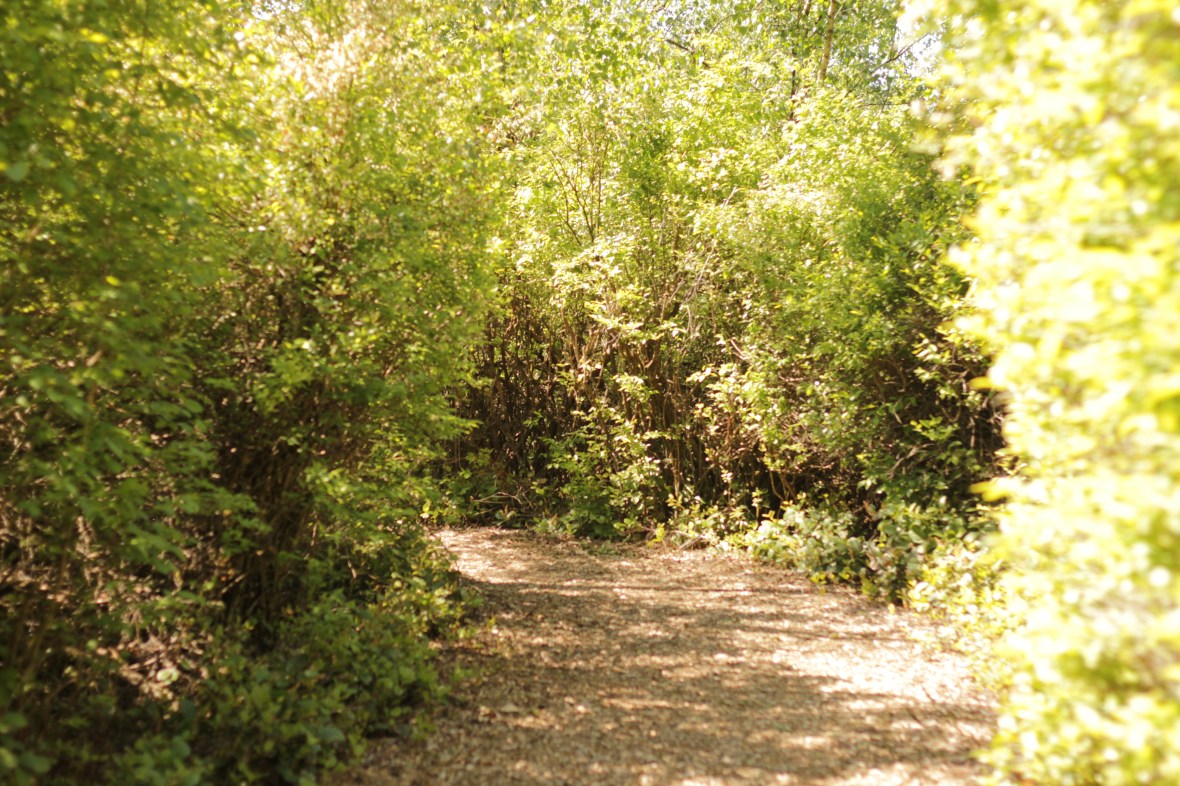
Awkward zoom making me change my intended focus
Since it was a trail, there wasn’t exactly room for me to move around. Things not on the path were surround by taller-than-me height brushes, and the trail was never straight for long enough to just back up. Most of the time, I couldn’t get the framing I wanted with the subjects I wanted in the shot. Everything would be half-complete, and if I really tried to squeeze some extra space in there (ie: walking into the brush-walls), I could only get it to almost get what I want.
I couldn’t take the photo I wanted to, so I had to change it up.
The above photo was just a tree branch coming out of the side. There was another tree to the left, and I wanted to take a photo with the trees on the side, and the grass/sky sharing the middle top/bottom respectively. I was a bit disappointed because I couldn’t fit it all in one frame, and just pointed my camera at different parts of what I had envisioned to try and find something else interesting. For a split second, I thought the single-branch on the side looked like an interest subject, and pressed the shutter button.
While it isn’t bad, it really isn’t that interesting, thought-provoking, or beautiful. However, it is something I would never take a picture of normally, since I usually don’t piece things apart into small sections like this.
Can’t zoom out, it’s hard to fit everything
Another example of things being hard to fit when the focal length is fixed. It still looked kind of the way I imagined it, but that was because I walked back maybe 30 meters to fit everything in.
Tried to get up close rather than move far away
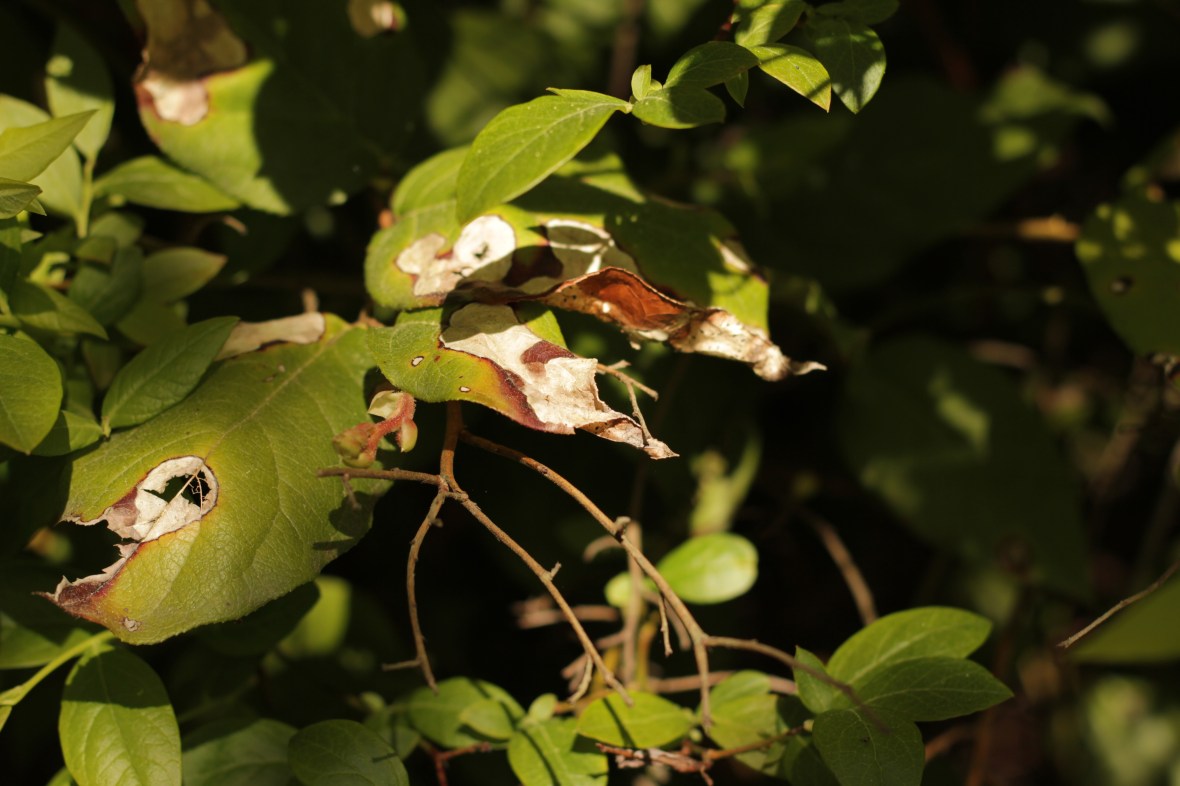
So I learned I couldn’t really get wide-angle pictures at a fixed focal length in a small area, so I had to make my subjects smaller. Macro shots were things I had avoided a few years after owning a DSLR. I’ve always thought macro shots generally showcased the camera and lens more than the actual photographer, since if you have a great macro lens and a great camera body, the photo kind of takes itself. It didn’t really teach me much about how to take a photo, aside maybe from like composing and aperture.
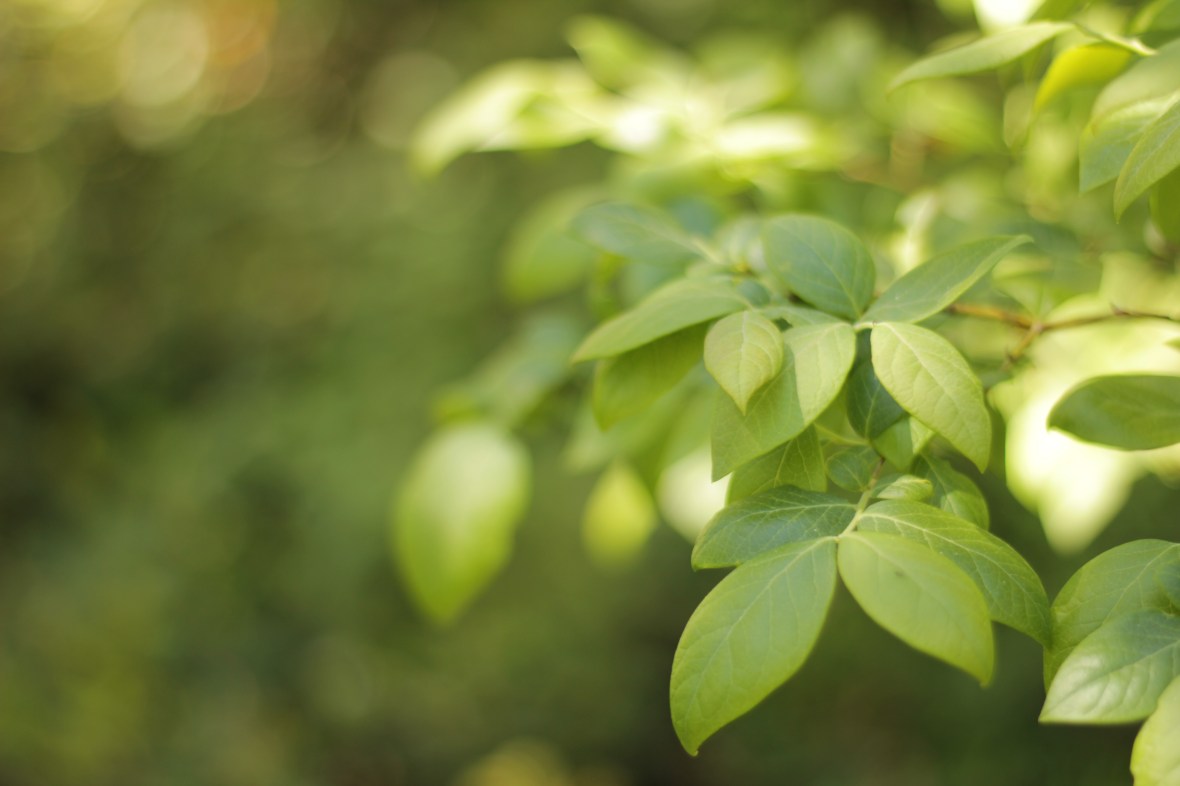
Which brings me to my point here, my macro photography is kinda garbage. Chalk it up to me never taking these kinds of shots, but I have no idea what I’m doing in these. I think I was too close to the leaf in this one, so the focus is a bit off. I also seemed to have messed up the aperture/focus, since there doesn’t seem to be an actual sharp area that could be a subject.
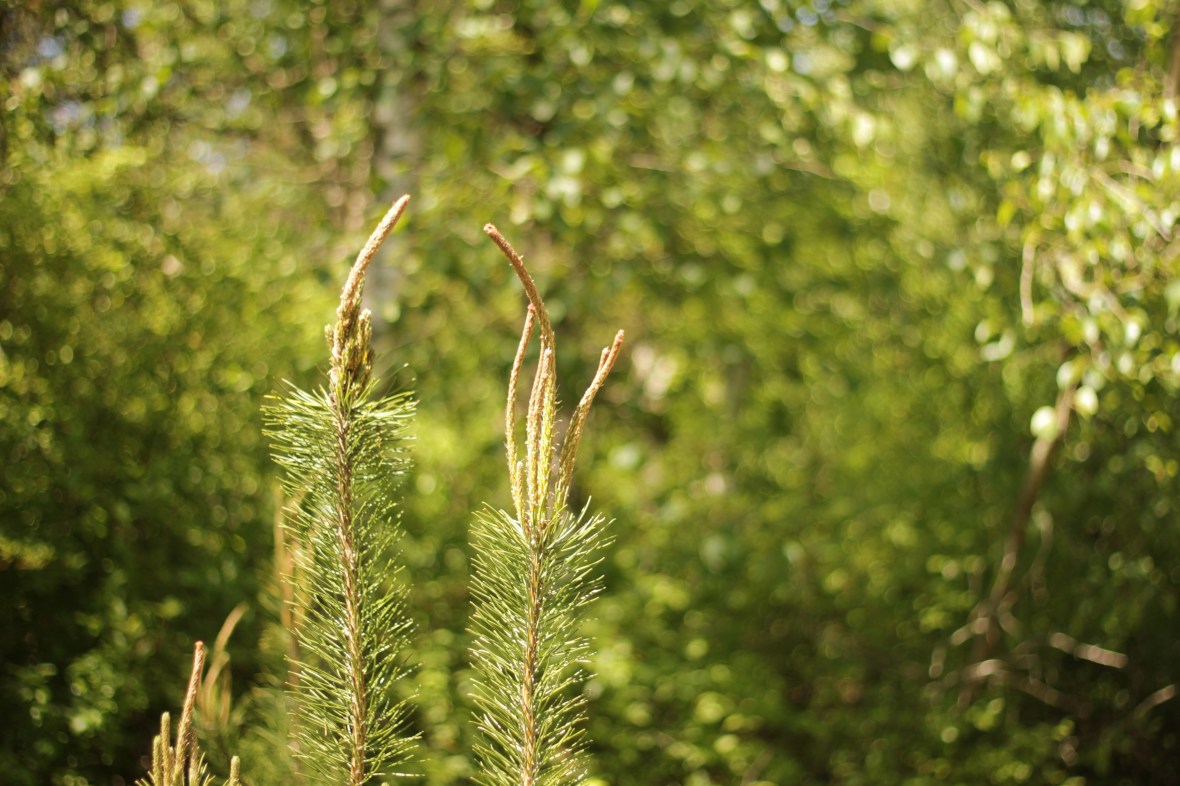
Look at that background, wow.
I realized this when I got home to pry over the pictures, but wow, bokeh is a lot more prominent when your f-stop is low. I have never tried to get deliberate bokeh, but you can bet I will be trying now.
Yes, the bokeh here is kind of hexagon-y, but I guess that’s just what the aperture of the 50mm looks like. Not much to do about that.
Only body of water I saw.
And that’s it for the Pond Trail. The ‘pond’ pictured above is probably a 10 meter diameter extension of the actual pond. But the actual pond is covered in so much plants that it might as well not exist.
Time Trail
More bokeh
Time Trail was a bit more interesting than Pond Trail as it was longer, went in a little deeper, and had more variety.
That doesn’t mean it was anything amazing. I was still surrounded by the 3 meter high brushes and constrained to a small path of maybe 1.5 meters wide.
Not much space to get around.
The trail was kind of cramped, and it had many turns, even though it was really just going straight, but in curved zig-zags.
Pretty.
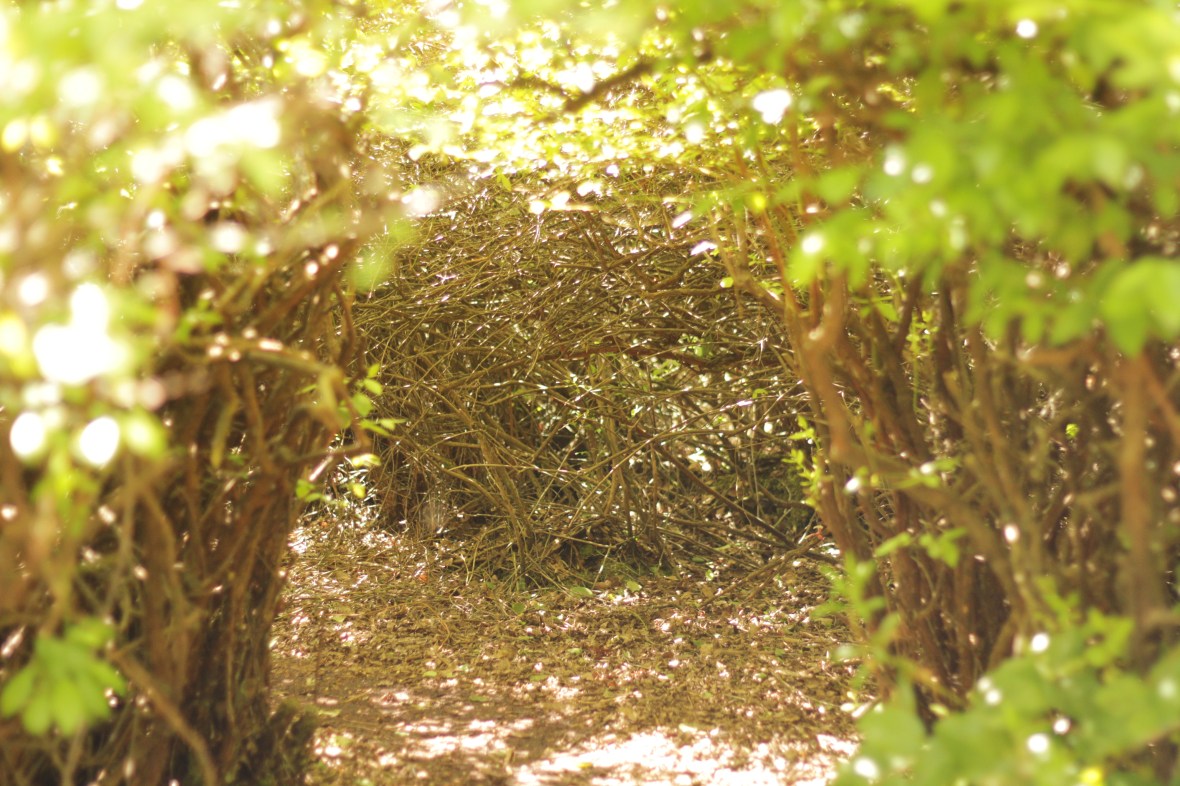
Back to the 50mm, the forced zoom made me shoot different.
The shot above was really just a maybe 50 cm tall gap in brush that extended in about 2 meters or so. I wanted to capture the entire hole in a single shot, but the zoom meant I couldn’t get all of it in one. So I went ahead and was about to take 9 photos in a 3×3 square so I could stitch them later with Microsoft’s Image Composite Editor (ty microsoft). On my second shot, I got something similar to this, and suddenly had the idea to try and take this instead, forsaking my composite image.
I couldn’t tell what it was that made this image seem captivating. Maybe it’s the long distance it seems to have with the focused/un-focused. The f-stop really helps out with that, since less things are in focus when it’s lower (and the 50mm has a low f-stop). While writing this, I think part of the beauty is the increase in supposed size because of the mandatory zoom. It makes the things seem grander. The brushes to the side aren’t 50 cm tall, but maybe more towards 2 meters. The hole goes longer than 2 meters, and instead looks more like 10 meters.
I’ve never thought about using zoom to make the subjects seem larger than their actual size – interesting.
The rest of the trail was kind of boring. It was just filled of my frustrations with having to deal with the limitations of an unfamiliar prime lens. Some macros, some farther aways, and some inbetweens.

Interesting subject choice of just the trunk.
There was a lot of random experimental photos, where I would just look around in the viewfinder and hope to find something interesting. Something like the above photo, I guess.
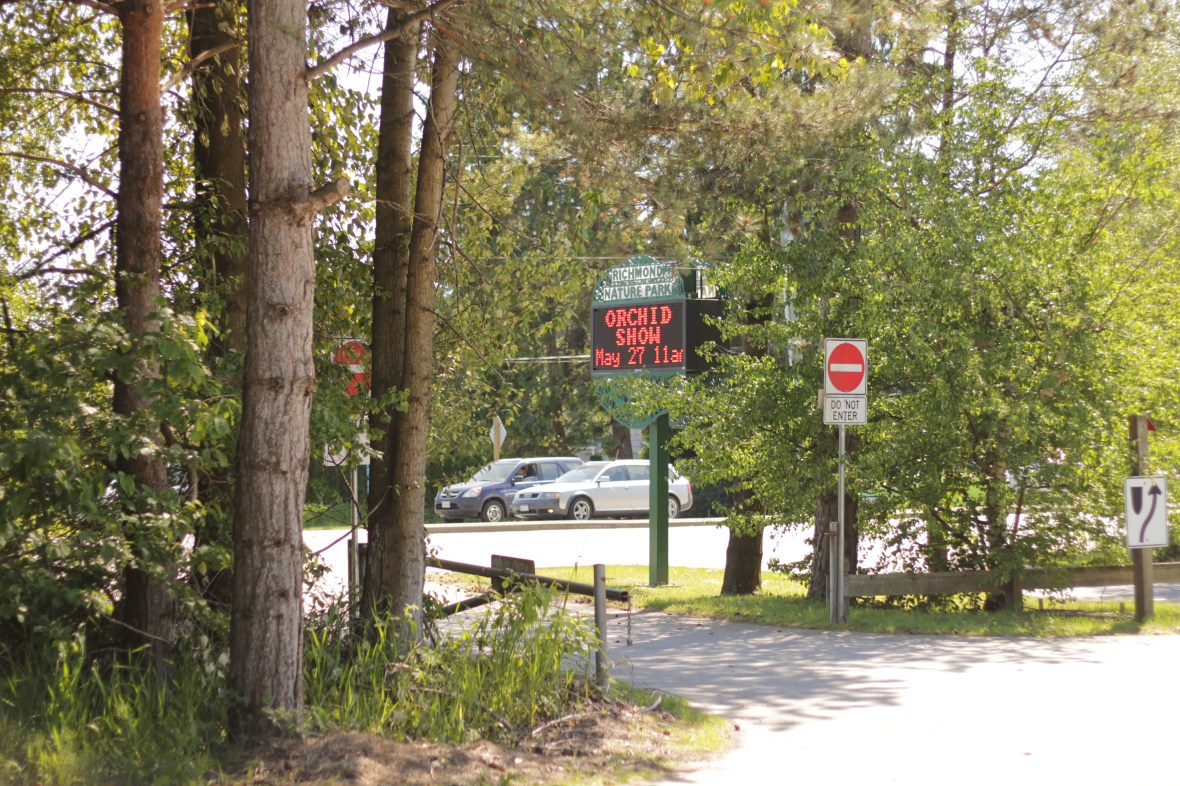
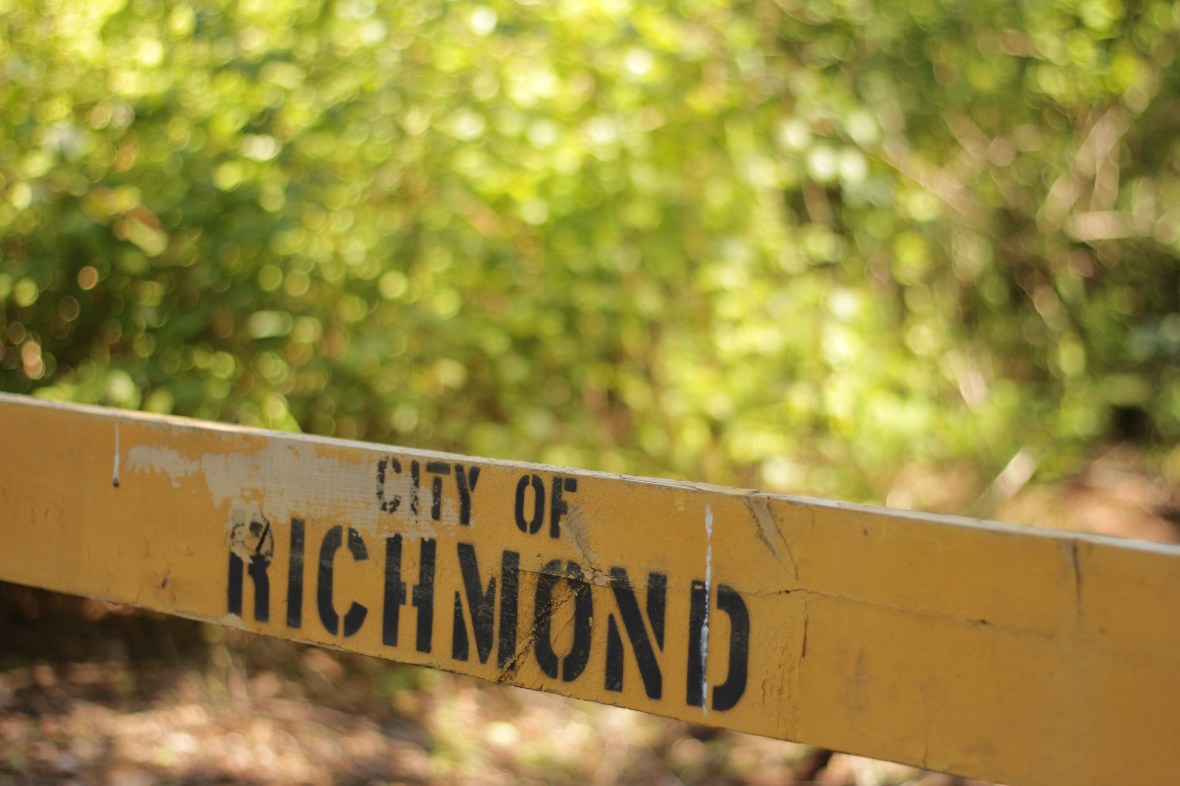
Unlucky
I eventually made it to the end and saw some flowers, and a sign advertising an orchid showing the next day.
Yikes, my timing is a bit off.
Shooting in RAW
I’ve always shot in .jpg files since I could store more photos in my memory card/external hard drive when the files are 3-4 times smaller. They were also easy to share, and easy to upload to my blogs.
This was the first photoshoot I’ve done where I’ve deliberately set my camera to save RAW files. I really wanted to learn some more about post-processing for photos, and read that RAW files (.cr2 for canon) make that easier. I didn’t really believe that claim until I saw the Adobe Camera Raw toolset after I opened a raw file.
It’s pretty amazing. And convenient. Having everything there makes life a lot simpler, and you can focus on the editing instead.
Which brings me to a question…
How do I want to edit my photos?
Here’s my first try at editing a raw file.

An attempt
I watched a few short tutorials on YouTube, and got a slight sense for what kind of things I wanted to try to do to my photo.
Here, I tried to make the focus more about the red flowers, so I tried to brighten up the sky to make there be a little more contrast, and then darken the bottom side of the flowers to try and bring the focus more on the middle row. I wanted the petals to be more clear and distinct, but I couldn’t figure how to do that with the small amount of information that I had.
For comparison, here’s the actual photo (.jpg form, not raw).
Maybe it’s over-edited and looks too fake, I don’t know. I think it could be a real shot, one where there happened to be shade over the flowers. I guess editing is a lot more subjective than just the basic photography taking, but I just want to get some kind of feedback on what I’ve done. Maybe I could’ve darkened/sharpened the middle flowers more to make each petal stand out more?
It was a bit fun to finally get some more creative liberty with my photos. I don’t live or die based on the environment of when I took them.
Though… someone’s gotta find a good system for being able to share multiple raw photos.
Flickr and WordPress doesn’t accept .cr2 file formats, and using photoshop to convert every single one is going to be a real hassle.
Sigh.
There is a long journey ahead of me.
